プロビジョニングプロファイルに新規端末を追加する方法
一度ビルドしたデベロッパー用アプリに新規の端末を追加する方法。
まず、新規デバイスのUDIDを登録する。
その後、iOS Dev Centerから今使っているプロビジョニングプロファイルを
クリックして「Edit」ボタンをクリックする。
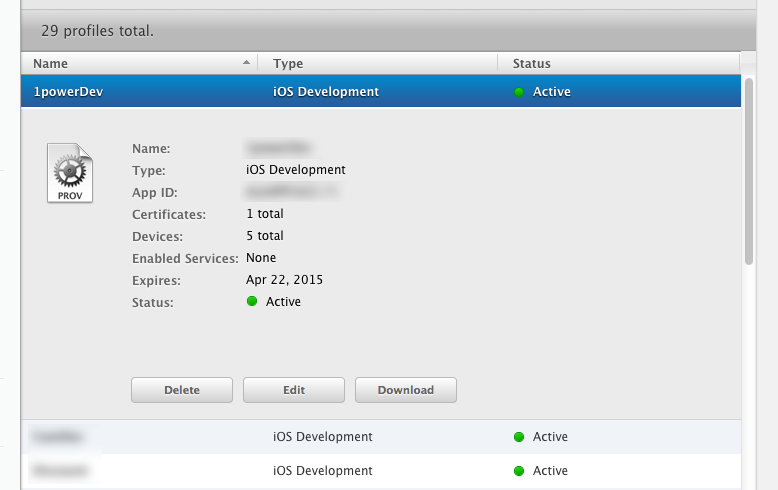
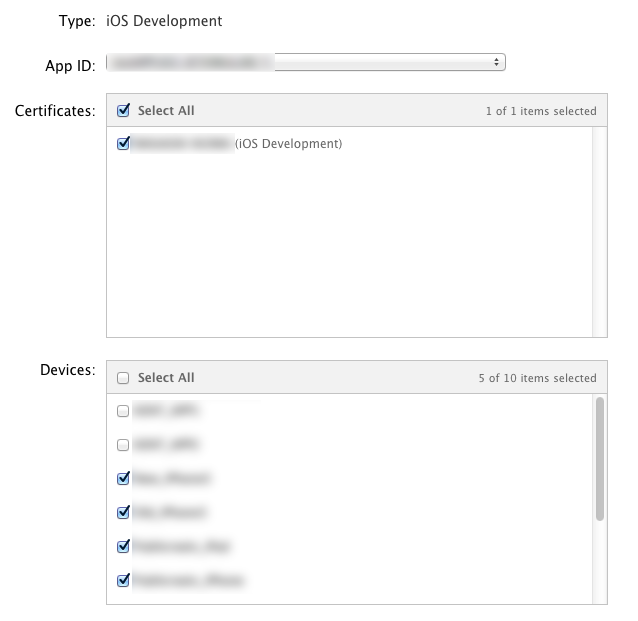
対応端末一覧が表示される。
先程追加した端末にチェックをいれて、「Generate」する。
こちらでiOS Dev Center上の更新は完了。
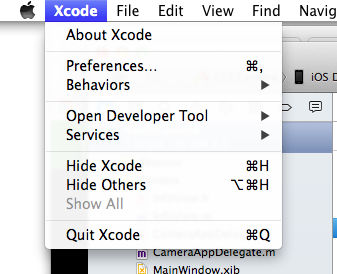
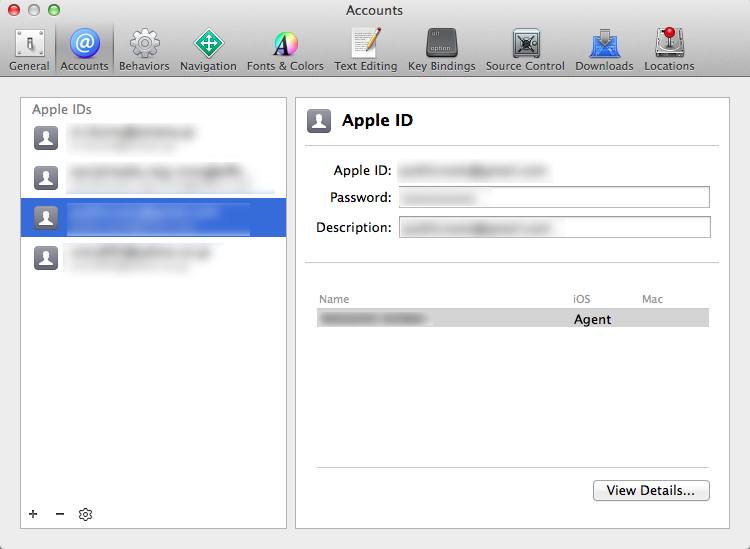
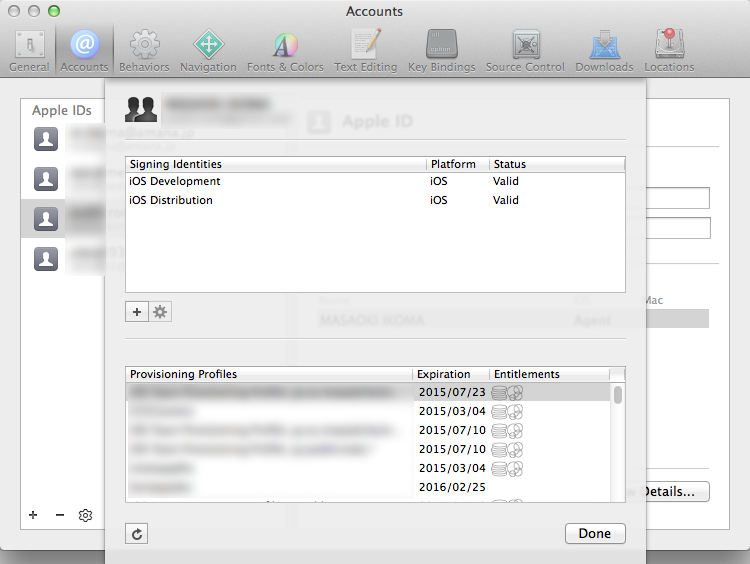
Xcodeを開き、「Preferences>Accounts」から、対象となるApple IDを選んで
「View Details…」をクリック。左下のリフレッシュボタンをクリックすれば、
ローカルファイルの方も更新されます。
その後、再びXcodeでビルドすれば、
アプリ自体にも反映されます。
参考サイトはこちら
http://mushikago.com/i/?p=3931
ちなみに、複数台同時に登録することもできるようです。
http://dev.classmethod.jp/smartphone/ios-multiple-devices/
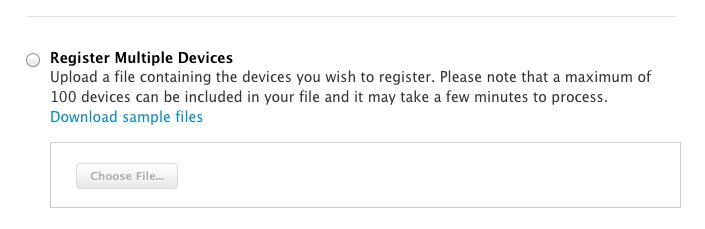
「Download sample files」よりデータをダウンロードする。
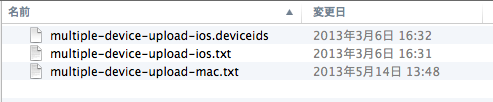
ダウンロードしたデータの「multiple-device-upload-ios.txt」を開く。
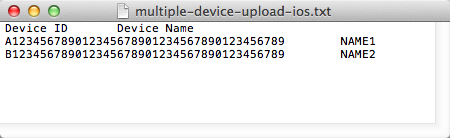
ここにUDIDと名前を登録して、multiple-device-upload-ios.txtをアップロードする。